 Stefan Vaskevich
2026년 4월 28일, Anthropic이 크리에이티브 도구를 위한 9개의 공식 Claude 커넥터를 출시했고, 그 간판은 Blender였습니다. 한 달 전만 해도 “Blender 안의 AI”란 얼기설기 만든 Python 애드온과 잘 깨지는 MCP 브리지를 뜻했습니다. 이제는 공식이고, 무료이며, 오늘 바로 작동합니다.
이를 둘러싼 짧은 후원 관련 잡음이 있었습니다 - Anthropic은 원래 Blender Development Fund에 기업 후원자로 합류했는데, 2026년 5월 1일 재단이 업데이트된 AI 정책을 정비하는 동안 이를 일회성 단일 기부로 변경했습니다. 커넥터 자체는 영향을 받지 않습니다.
이것이 제가 매일 사용하는 구성입니다. 필수 요소는 두 가지이고, 나머지는 선택입니다. 그다음에는 채팅만으로 무엇이 가능해졌는지 보여드리기 위해 제가 Blender에서 직접 테스트한 프롬프트 7개를 소개합니다.

필수 구성
필요한 것은 두 가지입니다. 선택 스킬은 특정 사용 사례가 요구할 때만 추가하세요.
준비물
- Blender 5.1+ - Claude UI에는 4.2+라고 나오지만 틀린 정보입니다. MCP 애드온은 5.1이 필요합니다.
- Claude Desktop(Mac 또는 Windows). claude.ai 브라우저 앱은 커넥터를 지원하지 않습니다.
1. 공식 Blender 커넥터
Blender 쪽. Blender 옆에 Blender Lab MCP 페이지를 열어 두세요. 설치 링크를 Blender 창으로 드래그하면 - Blender가 lab 확장 저장소를 허용할지 묻습니다. 수락하세요. 같은 링크를 한 번 더 드래그하면 MCP 애드온이 설치됩니다. Edit → Preferences → Add-ons → “MCP” 검색으로 확인하세요.

3D 뷰포트에서 N을 눌러 사이드바를 열고, BlenderMCP 탭을 찾아 Connect to Claude를 클릭한 뒤 Auto-start에 체크하세요. 서버는 localhost:9876에서 실행됩니다.
Claude Desktop 쪽. Settings → Connectors → Browse → Blender 검색 → Install. 커넥터의 Configure 페이지를 열면 19개의 읽기 도구와 7개의 쓰기/삭제 도구가 보입니다. 자주 쓰는 읽기 도구는 Always allow로 설정해 권한 팝업이 흐름을 끊지 않게 하세요.
스모크 테스트. 새 채팅에서: “Blender에 연결돼 있어? 기본 큐브를 삭제해 줘.” 큐브가 사라져야 합니다.
이 커넥터에 대한 Anthropic의 튜토리얼은 여기에 있습니다: claude.com 튜토리얼.
2. fal.ai MCP
fal.ai는 이 스택의 클라우드 절반입니다 - 1000개 이상의 모델에 걸친 이미지, 영상, 3D, 오디오 생성. PATINA(PBR 텍스처), Flux, Hunyuan3D, Kling, Wan 등등. fal.ai 키가 필요합니다(시작할 때는 무료 크레딧이 제공되고, 프로덕션 사용량은 종량제로 과금됩니다).

Claude Code를 쓴다면 명령 한 줄이면 됩니다:
claude mcp add --transport http fal-ai https://mcp.fal.ai/mcp \
  --header "Authorization: Bearer $FAL_KEY"
Claude Desktop의 경우 Settings → Developer → Edit Config를 열고 claude_desktop_config.json에 다음을 추가하세요:
{
  "mcpServers": {
    "fal-ai": {
      "command": "npx",
      "args": [
        "-y",
        "mcp-remote",
        "https://mcp.fal.ai/mcp",
        "--header",
        "Authorization: Bearer ${FAL_KEY}"
      ],
      "env": { "FAL_KEY": "<your_fal_key>" }
    }
  }
}
저장한 다음, 메뉴에서 Claude Desktop을 완전히 종료하고(닫기 버튼만으로는 안 됩니다) 다시 실행하세요.
문서: fal.ai MCP 설정.
제가 fal.ai를 가장 먼저 추천하는 이유
위의 두 가지만으로도 완성된 영상을 내놓을 수 있습니다 - 이 둘을 기본 구성으로 추천하는 이유가 바로 그것입니다. 대부분의 서드파티 3D AI 서비스는 자체 전용 Skill과 MCP를 갖고 있고 유용하기도 하지만, 시작용으로 하나만 고른다면 fal.ai가 단일 커넥터로 가장 넓은 범위를 제공합니다: PBR 머티리얼, 이미지와 영상 생성, Hunyuan3D와 Tripo 백엔드까지, 전부 같은 채팅 세션에서, 전부 호출당 과금으로.
선택 애드온
이들은 특별히 원할 때만 추가하세요. 각각은 공급자 하나 또는 도구 세트 하나만큼 스택을 확장합니다.
| 애드온 | 유형 | 추가되는 기능 |
|---|---|---|
| Hyper3D Rodin | Skill | Rodin Gen-2를 통해 텍스트나 이미지를 메시로 변환. |
| fal-3d | Skill | 하나의 프롬프트 인터페이스 뒤에 Hunyuan3D와 Meshy 백엔드. |
| Meshy 3D Agent | Skill | 텍스트/이미지를 3D로, 여기에 자동 리깅과 애니메이션까지. |
| Blender Toolkit | Skill (Dev-GOM) | Mixamo 리타기팅과 30개 이상의 모디파이어(포트 9400–9500, 메인 9876과 충돌 없음). |
| Tripo MCP | MCP | Tripo를 통해 텍스트, 이미지, 멀티뷰를 3D로 변환. |
| 3D AI Studio | Skill (custom) | 하나의 Skill 뒤에 Tripo P1, Hunyuan3D, TRELLIS. 설정 방법은 아래 참조. |
커스텀 Skill은 모두 같은 형태입니다
대부분의 서드파티 Claude Skill은 동일한 방식으로 설치됩니다: SKILL.md와 API 키가 담긴 .env가 들어 있는 폴더를 ~/.claude/skills/에 넣으면 됩니다. 3D AI Studio 스킬이 구체적인 예시입니다.
Claude Code:
git clone https://github.com/t4ai-workshops/3d-ai-studio-api-skill \
  ~/.claude/skills/3d-ai-studio-api/
echo "3D_AI_STUDIO_API_KEY=<your_key>" \
  > ~/.claude/skills/3d-ai-studio-api/.env
Claude Desktop: 저장소를 ZIP으로 다운로드하고, 3D_AI_STUDIO_API_KEY=<your_key>를 SKILL.md 옆의 .env에 넣고, SKILL.md가 압축 파일 루트에 오도록 폴더를 다시 압축한 다음, Customize → Skills → + → Upload a skill을 누르세요.
SKILL.md와 환경 변수 형태로 제공되는 Skill이라면 어떤 것이든 절차는 같습니다.
스택 검증하기
새 Claude 채팅에서 이렇게 물어보세요:
기대 결과: blender, fal-ai, 그리고 설치한 선택 스킬들. 빠진 게 있다면 가장 유력한 범인은 설정 오타이거나 어중간하게 재시작된 Claude Desktop입니다 - 완전히 종료하고 다시 여세요.
제가 테스트한 예시들
제가 직접 처음부터 끝까지 돌려 본 프롬프트 7개입니다. 복사해서 붙여넣고, 필요한 곳의 오브젝트 이름만 바꾸면 바로 쓸 수 있습니다.
1. 하이폴리에서 로우폴리로 베이크
클래식한 게임 에셋 워크플로를 완전 자동화한 것입니다. Claude가 메시를 찾고, Selected to Active를 설정하고, 다른 모든 것이 AO를 오염시키지 않도록 렌더에서 숨기고, Normal과 AO를 2K로 베이크하고, PNG로 저장한 뒤, 로우폴리의 머티리얼에 연결합니다 - Normal은 Normal Map 노드를 거쳐 BSDF Normal로, AO는 Base Color에 곱하기로.


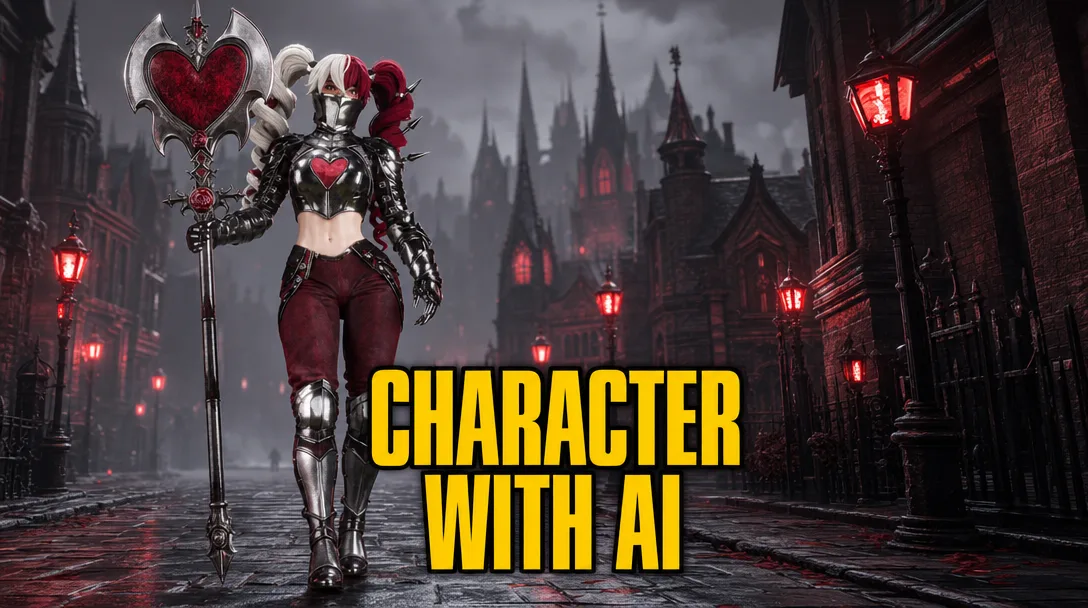
2. 이미지로 3D 캐릭터 생성하기
이미지를 3D로 바꾸는 것에 더해, 열려 있는 씬 안에서의 자동 임포트와 조립까지. 레퍼런스 이미지 세 장(돼지 머리, 수트 입은 몸통, 톱햇)이 들어가면 3D AI Studio Skill을 통해 GLB 세 개가 나오고, Claude가 씬을 초기화하지 않은 채 이들을 캐릭터로 쌓아 올립니다.


3. fal.ai PATINA로 만드는 PBR 머티리얼
제가 가장 좋아하는 데모입니다. 타일링 가능한 PBR 머티리얼 네 개를 병렬로 생성해 작은 코너 씬에 연결합니다: 바닥에는 헤링본 쪽모이 마루, 안쪽 벽에는 William Morris 풍 보태니컬 벽지, 벽 바깥면에는 런던 레드 브릭, 테이블에는 월넛.

4. 아웃라인이 있는 툰 셰이더
여러 메시로 이루어진 캐릭터에 기존 디퓨즈 맵 위로 셀 셰이딩을 입히고, Solidify 기반 아웃라인을 더합니다. 고전적인 “머리카락과 리본에서 아웃라인이 터지는” 실패 모드에 대한 방어책도 포함했습니다.

5. 프로시저럴 이리데선트 페인트 셰이더
차체 머티리얼을 Layer Weight (Facing)와 Color Ramp로 구동되는 프로시저럴 무지개 이리데선트 셰이더로 교체합니다 - 튜닝카나 딱정벌레 껍질에서 보는 그런 펄/카멜레온 도장 말입니다.

6. 다단계 오브젝트 애니메이션
하나로 합쳐진 키 메시를 키별 아일랜드로 자동 분리한 다음, 키보드 조립 애니메이션을 만듭니다. 본체가 먼저 떨어져 들어오고, 그다음 키들이 위에서 떨어지며 모든 행에 걸쳐 동시에 왼쪽에서 오른쪽으로 휩쓸 듯 내려앉습니다. 행 클러스터는 깊이를 기준으로 자동 식별됩니다.

7. Geometry Nodes: 지형 위에 식물 흩뿌리기
Claude가 진짜 Geometry Nodes 그래프를 처음부터 끝까지 만듭니다 - 바운딩 박스, 포인트 그리드, 지터, 지형으로의 레이캐스트, 컬렉션에서 무작위 식물 인스턴싱까지. 프롬프트에서 Blender 4.x와 5.x의 레이캐스트 API 차이를 명시적으로 처리하게 한 부분에 주목하세요.

어디서부터 시작할까
처음부터 새로 설치하는 중이라면, 첫 번째 진짜 테스트로 예시 3(PATINA 머티리얼)을 돌려 보세요. 시각적으로 강렬한 데다 fal.ai, Blender 커넥터, 머티리얼 연결을 프롬프트 하나로 전부 점검합니다 - 이것이 되면 나머지도 됩니다.